
Folkestone Engineering Supplies.
A Little history into my shot making
Journey - 2018 current beast
has 30drippers! (see below)
Lead shot making - How to construct a quality shot maker.
| As used in the feature "Recycled Shot" written by Tim Woodhouse for the 6th October 2010 issue of the Shooting Times Magazine. |  |
|
Simply, convert cheap scrap/waste *lead into quality shot. A shot maker to make high quality shot (English size 8 to 5). The lead-alloy does need to be correct and consistent as possible batch- to- batch for correct size and quality of shot. * Antimony metal needs to be added to the
scrap lead. * Tin makes lead more fluid, useful for casting metal soldiers, bullets or type printing face but ideally not required for shot making. |
|
The shot maker. (June 2014)
My journey into shot making started many years ago now and like all do, I
was looking for a simple system to make lead shot I "copied" (like you
do) the normal methods found on the web (e.g. Littleton) and used various
coolants (oil, diesel, break fluid etc) but the results were very mixed with
added problems like lead sticking to the dripper ramp and removing the oil
(or other coolant) from the finished shot.
How many times have you made shot only to be frustratingly disappointed to find it not
round (tag poles), dimpled etc and not fit for purpose? With the only option to try again or pick out the best bits.
So the quest began for a “plug and play” shot maker that worked first time
every time with none of the problem associated with the ramp or cleaning the coolant from the shot.
I think what I have is as close to perfection as a home loader wanting to
make shot can ask for and achieves the
quest – that is until someone shows
me otherwise. A mini version of the Bliemeister
commercial shot machine.
Used correctly this system makes excellent shot the equal of commercial shot and
I have made
many hundreds of kg using the method, for my own cartridges.
Below is some photos.
The small print - Anybody attempting to make and use the shot maker does so totally at at their own risk.
1. The Dripper Head.
The dripper head hold the drippers from which the lead drips to form the pellets/shot.
The head is best made from cast iron/Stainless Steel, but the early ones shown in the photos
were made of aluminium.
Each head
holds up to six drippers and the electric heating elements and thermocouple used to keep the lead held
in the head molten.
The size of the hole in the dripper determines the size of the shot produced and given that these holes are tiny and challenging to make therefore normal practice is to make a "dripper bolt" with the tiny hole in it so it can be made in a lathe and several made until a good working set is produced. For example UK #6 shot 2.6mm diameter required a 0.75mm diameter hole and #8 shot a 0.5mm hole. The dripper is constructed from an M4 bolt.
If you are familiar with shot makers you may also notice from the photos that this design allows the lead to fall from the bottom of the head and no ramp is attached to the head on to which the shot falls. Hence none of the problems associated with the the ramp like shot sticking.
The dripper head shown is a "working" head and been used over a few
years to produce
a lot of #6 shot - no elements or thermocouple are fitted. Latter heads are made
from cast
iron replacing the aluminium version.
The heads mainly had four drippers or six drippers.
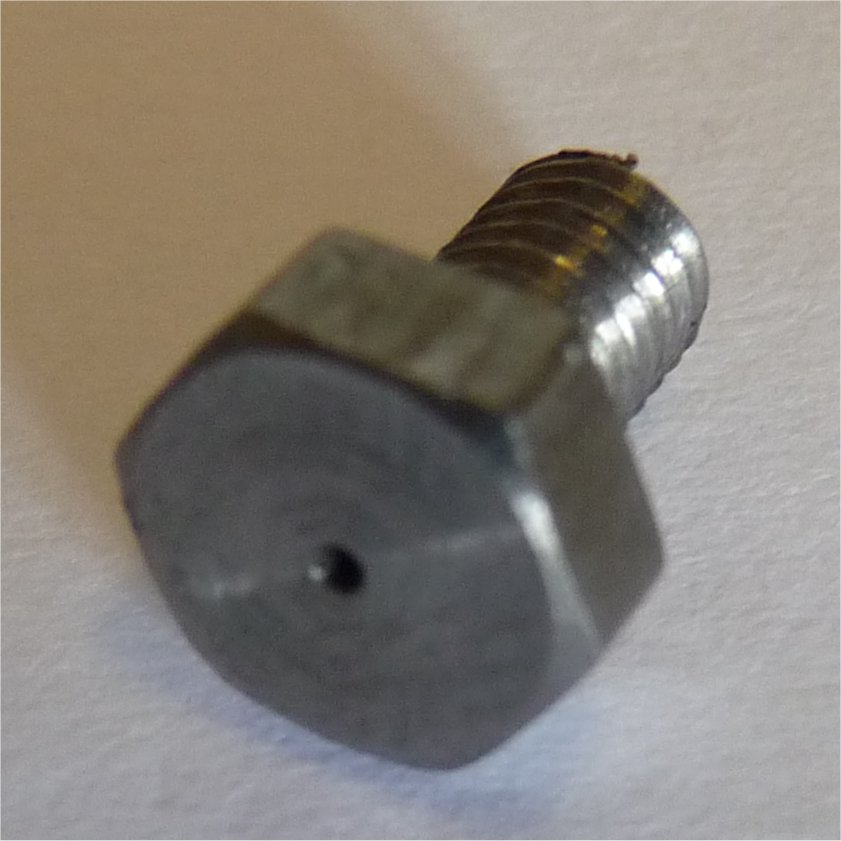
M4 steel bolt |
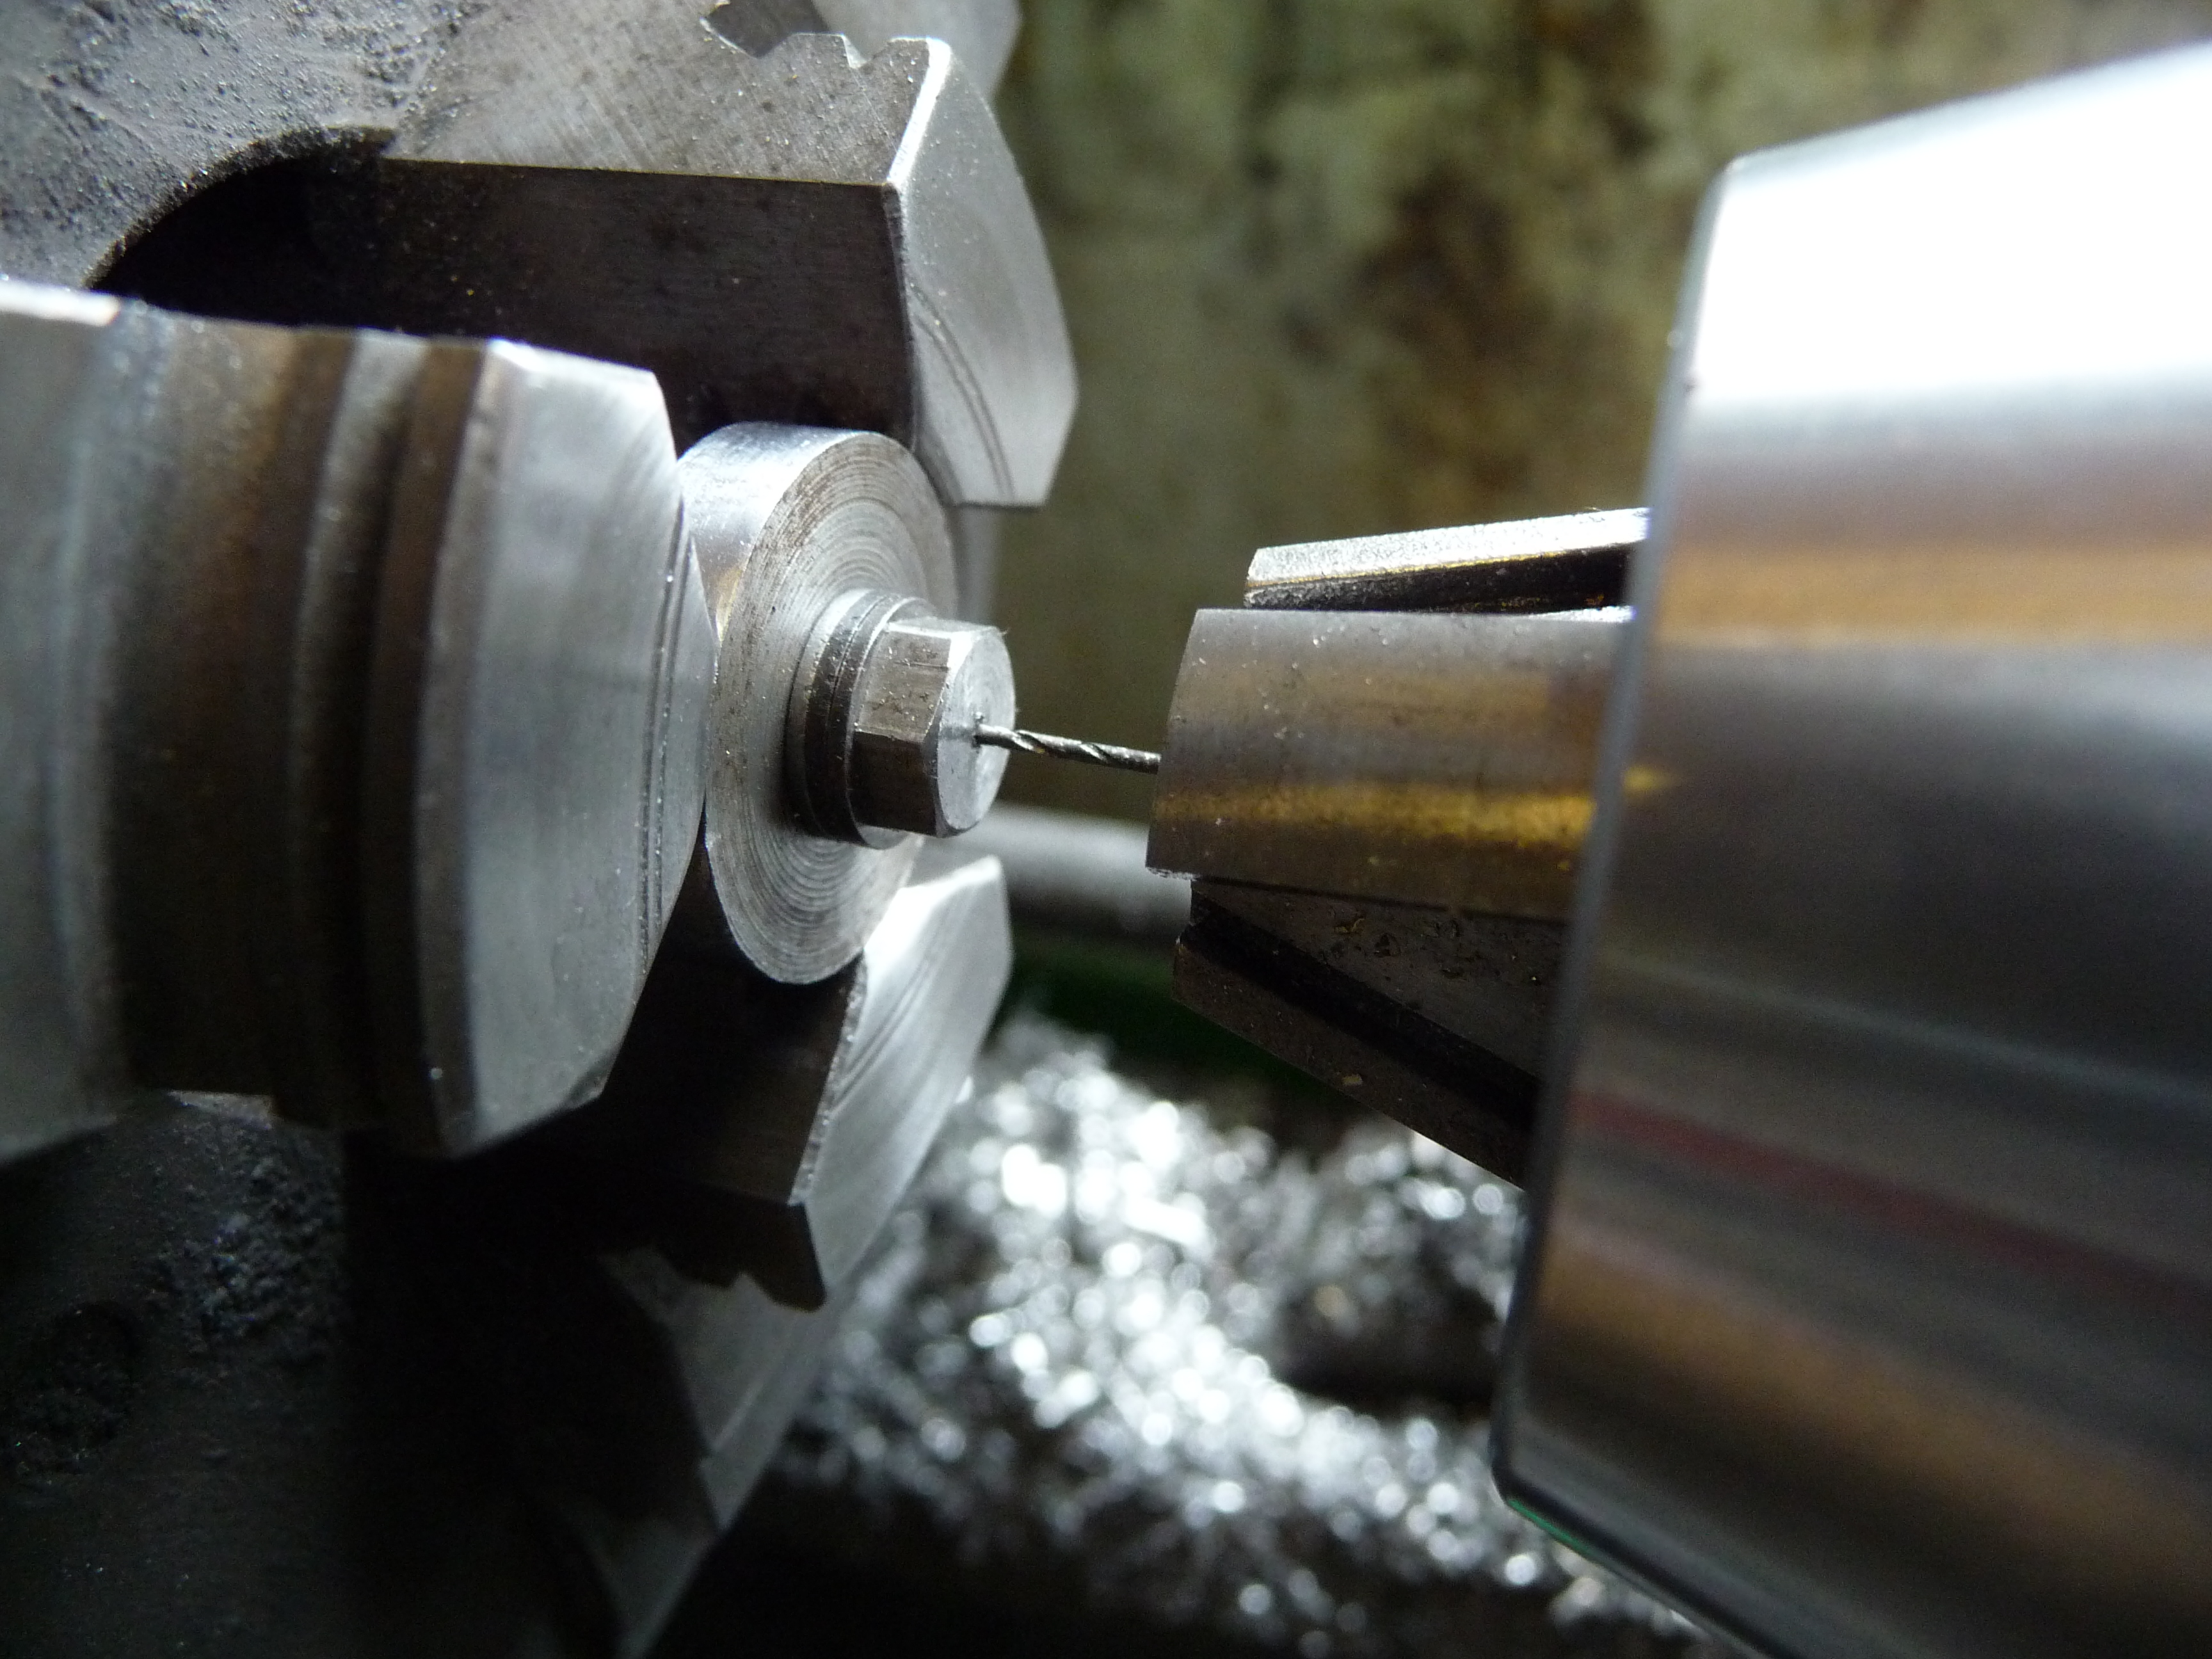 |
Using the lathe
to drill a 0.75mm hole through the bolt to make a #6 dripper. |
 |
 |
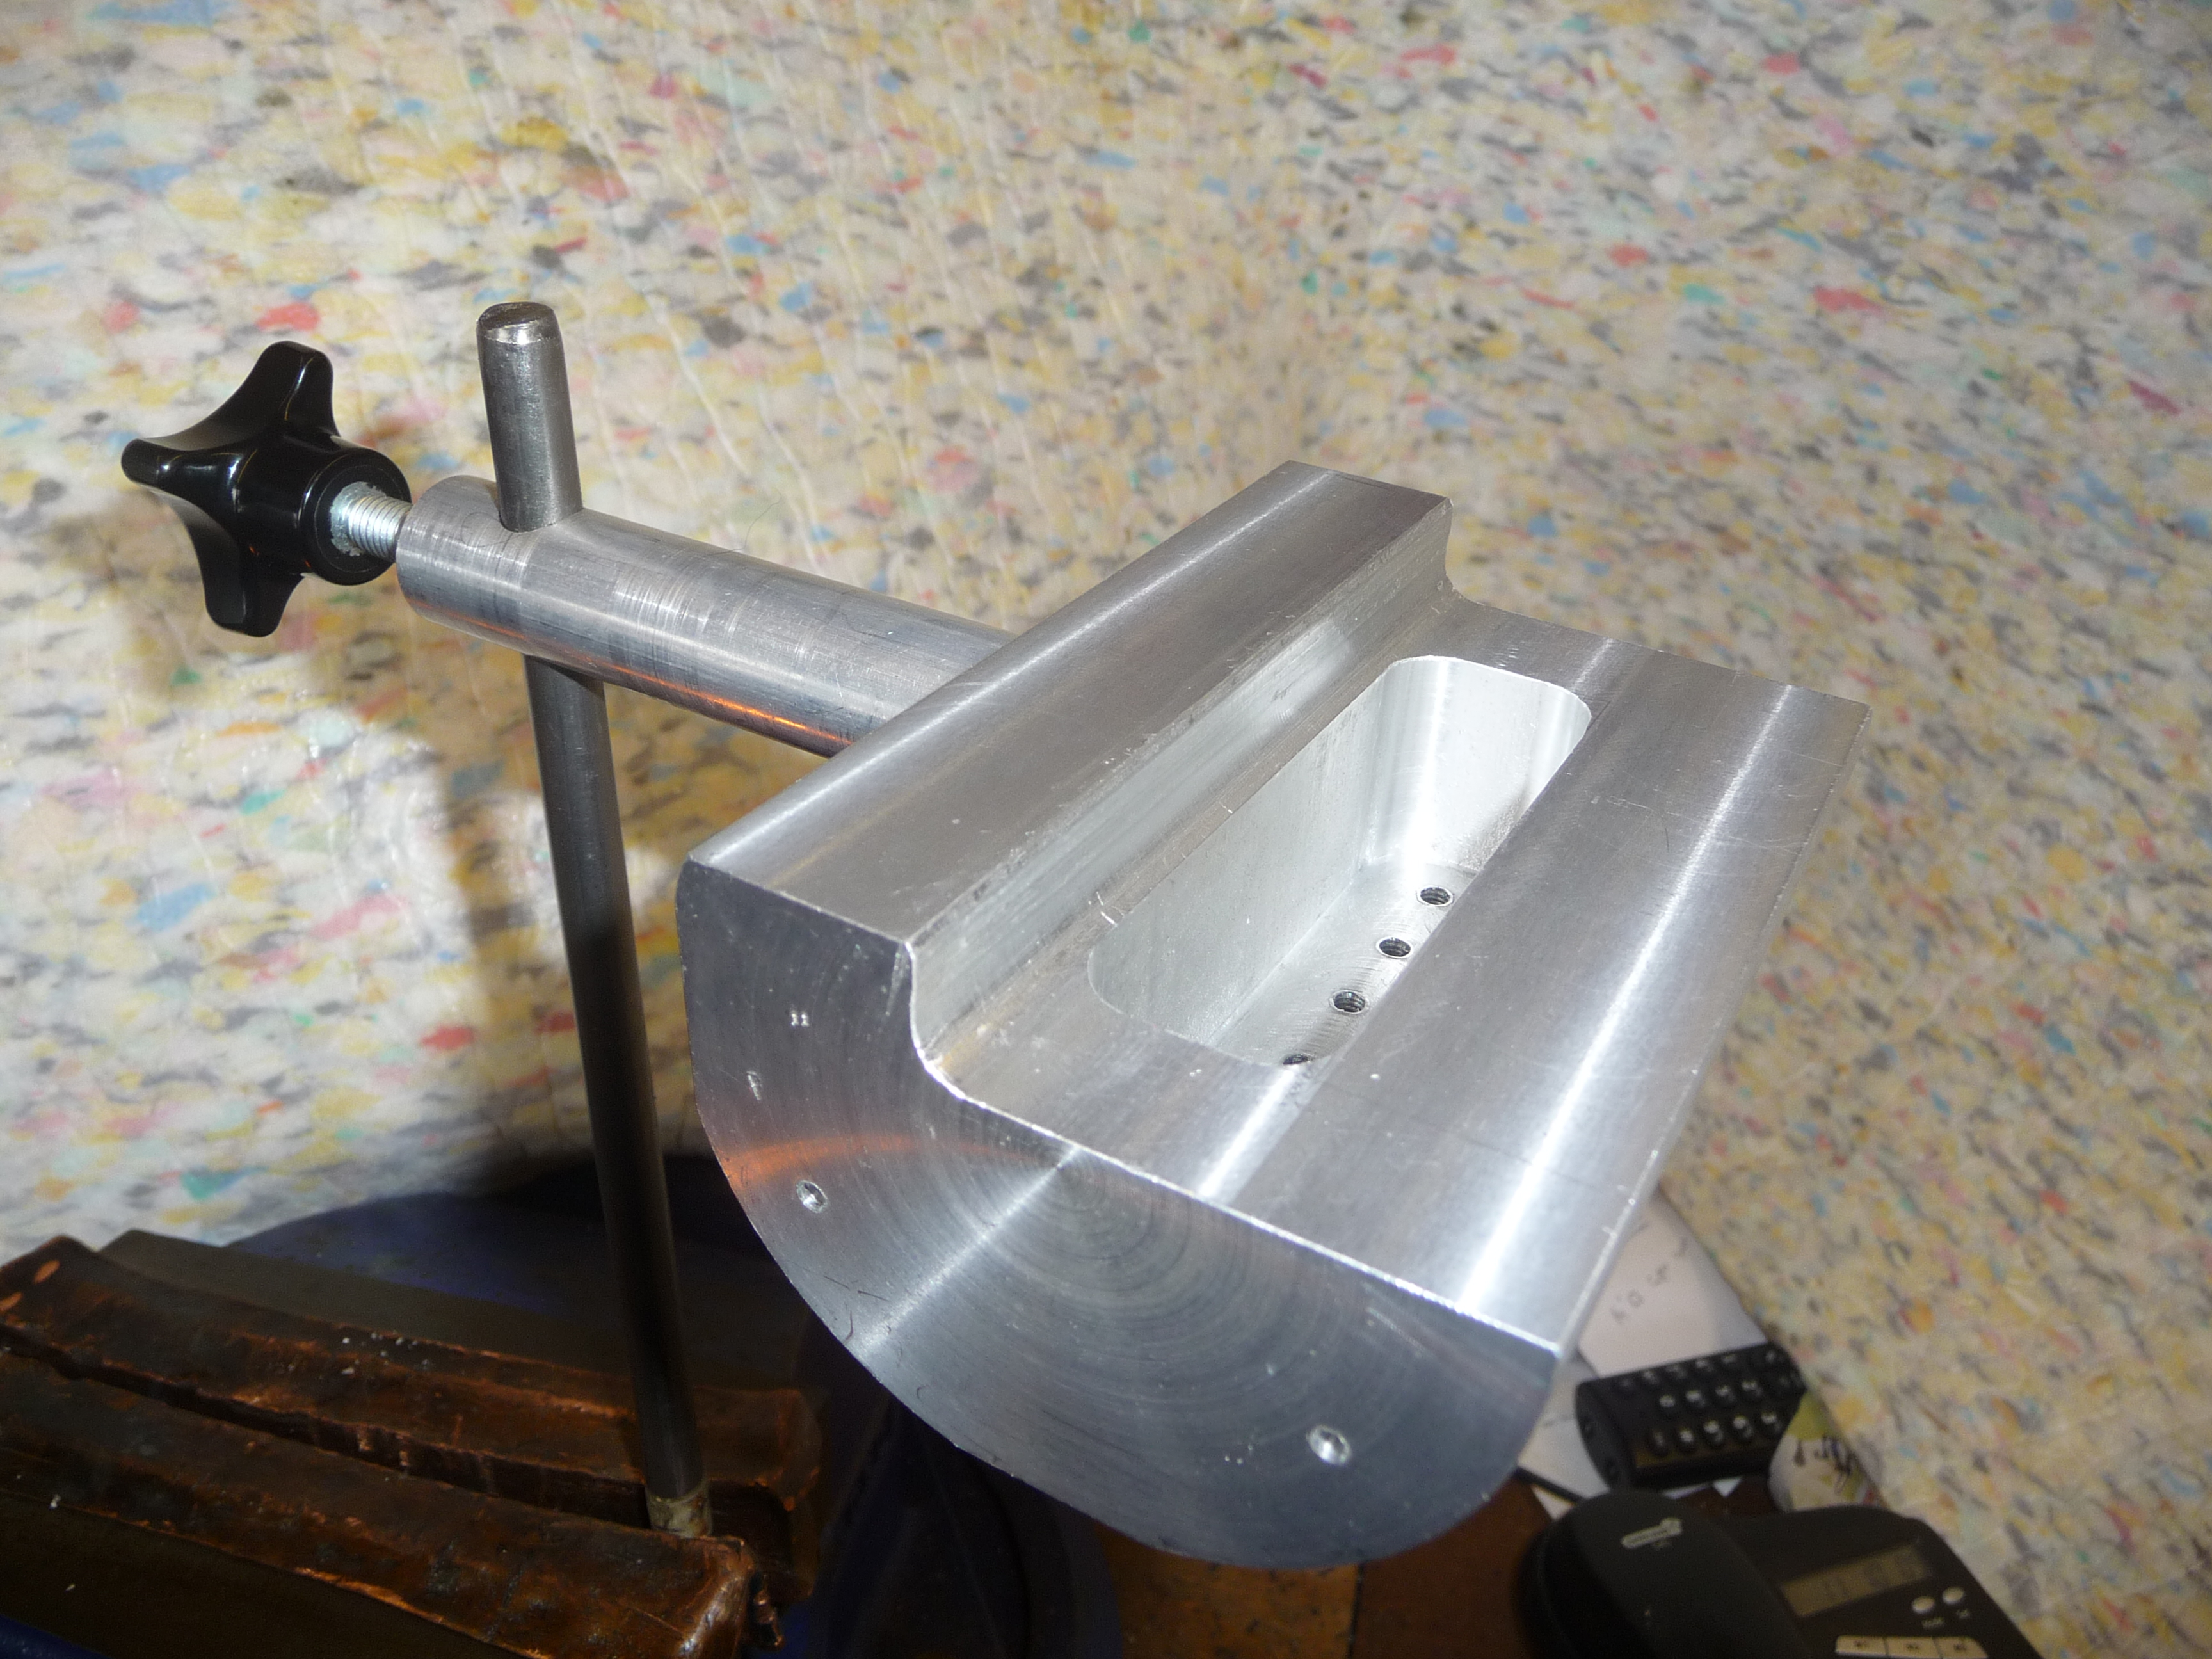 |
A newly finished dripper head.
The last one made from aluminium cast iron gives a better safety margin between the melting temperature of lead and that of aluminium. |
2. The Coolant Tank
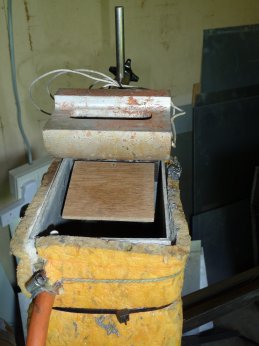
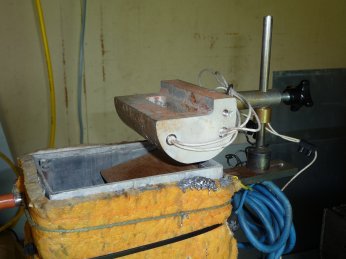
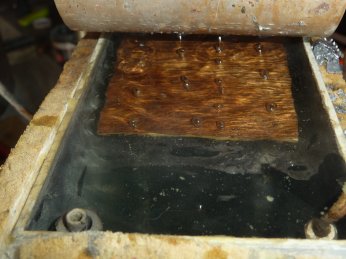
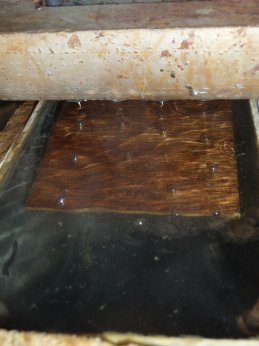
The dripper head support arm allows the dripper head to be correctly positioned for the shot to fall at the start of the ramp and from the correct height into the coolant and onto the ramp.
 |
 |
|
 |
 |
3. The Electronics.
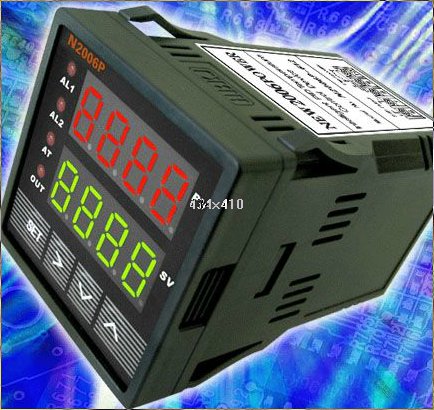
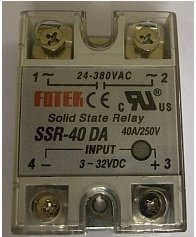
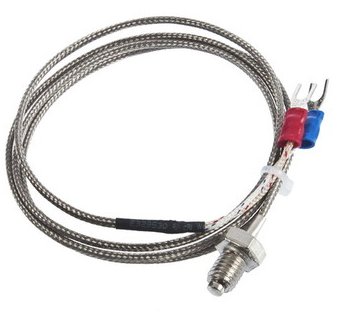
PID controller using K-type thermocouples and solid-state relays (SSR).
The controllers and SSR must be housed in a suitable box
and wired up as necessary for correct safe operation.
The use of RCD plugs is also
recommend to connect to the domestic 240v supply.
The installation of the controller, SSR and electrical connection should only be completed by a competent person.
The PID controllers require the P, I and D values to be set within the controller to ensure precise control of the temperature this can normally be achieved by the “auto tune” function build into most controllers.
No wiring information will be given here, as the information required is provided by the controller manufacture.
 |
 |
 |
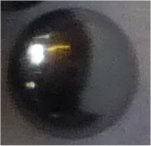
| Shown magnified is our #8 shot |
 |
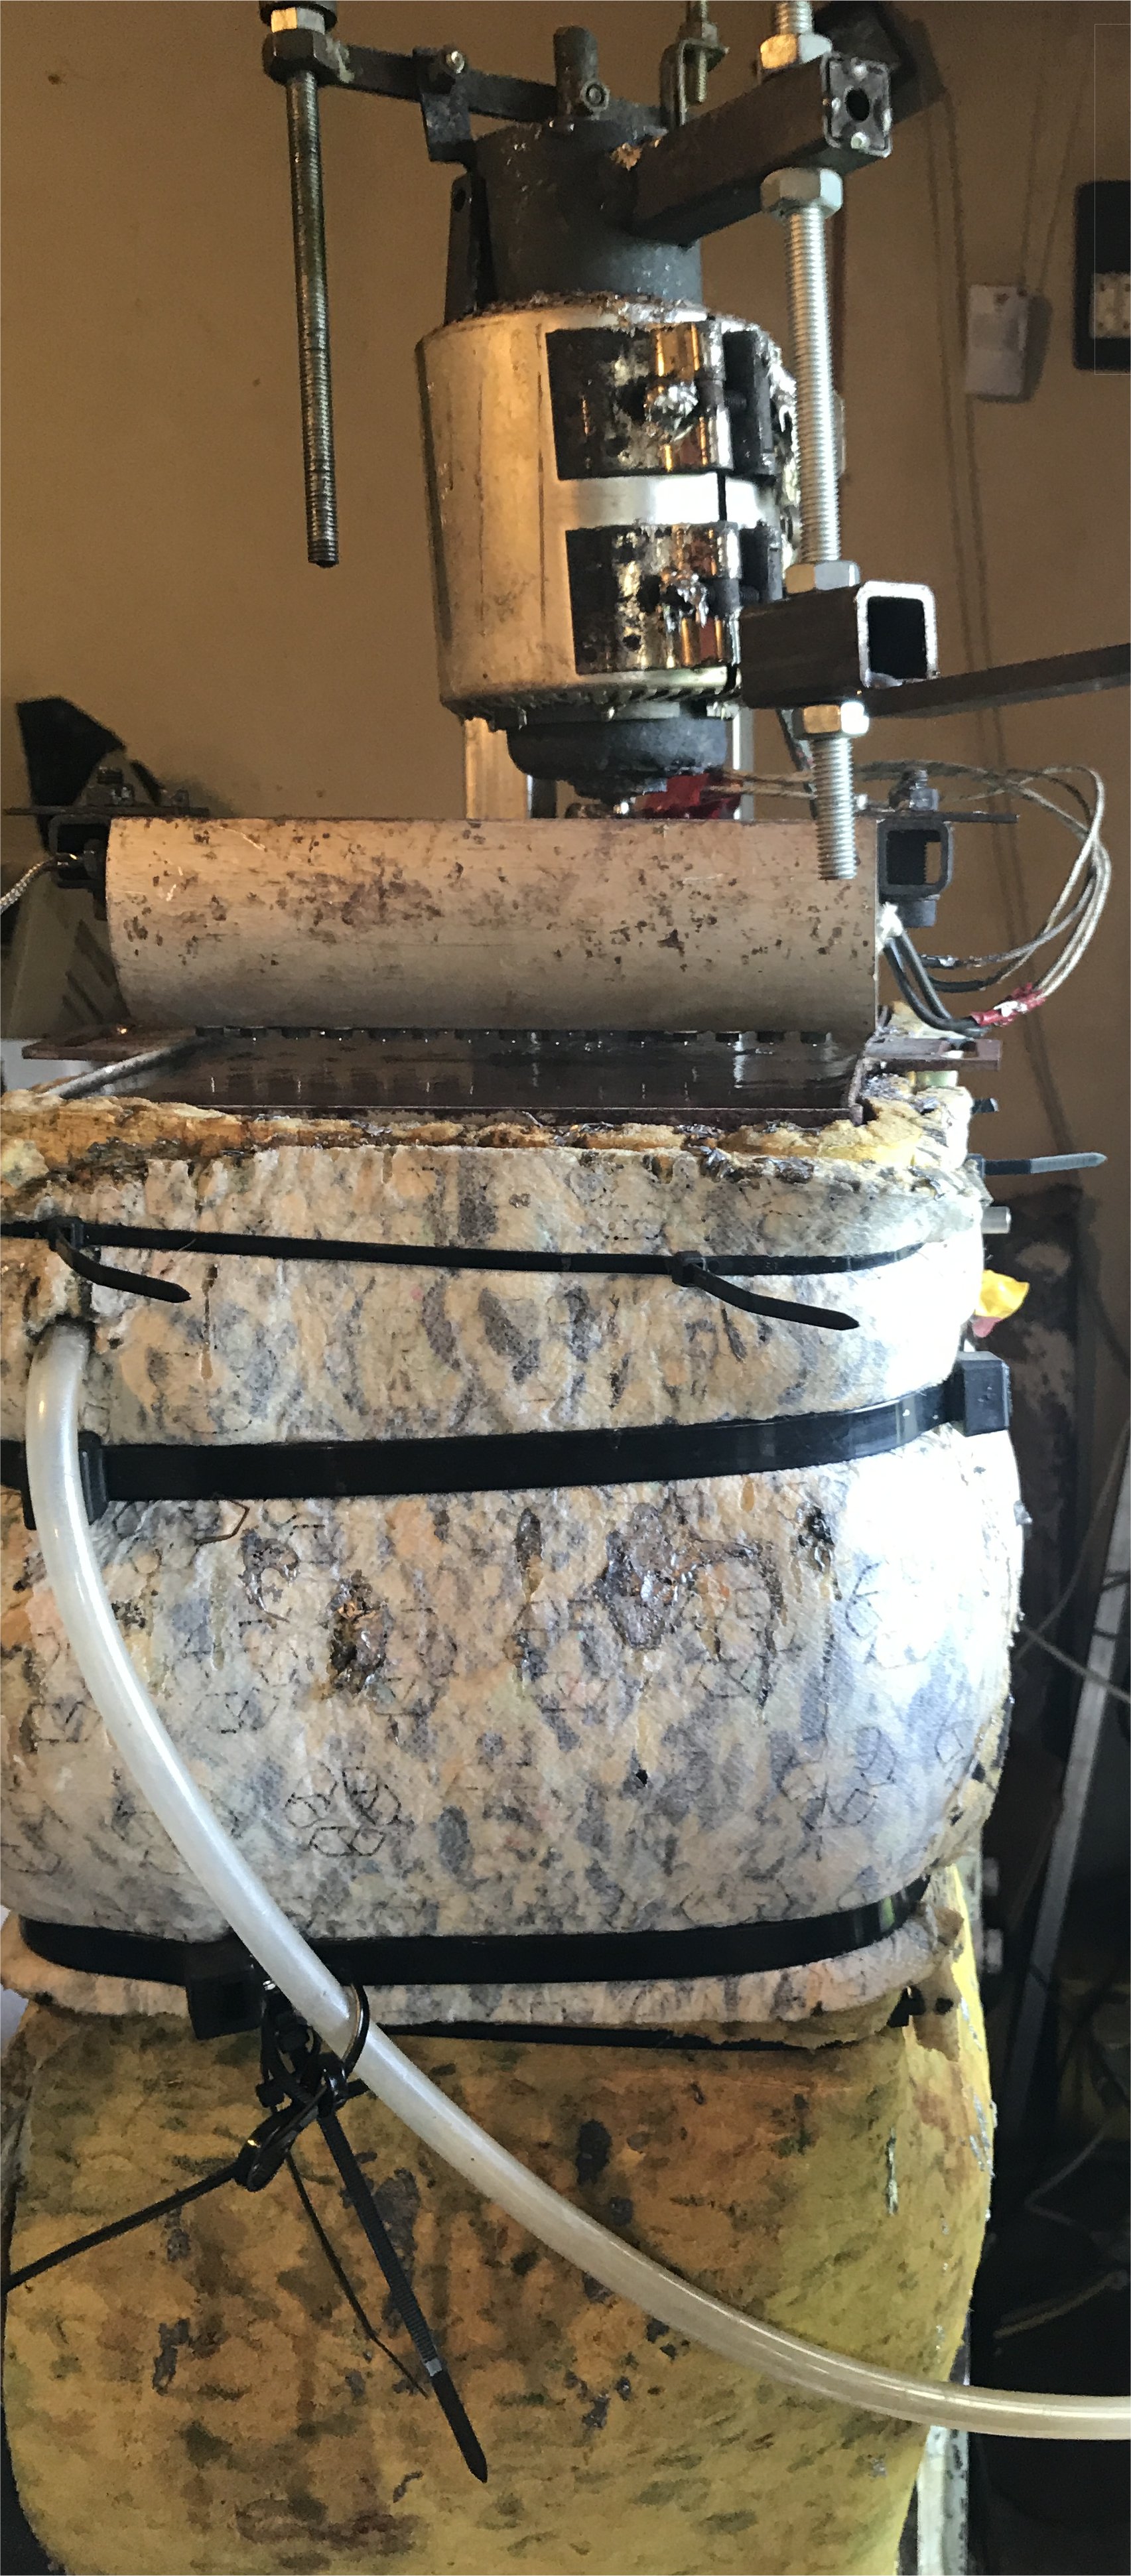
2018 - The Beast! (actually made a couple of years back now!)
| My Current machine has 30 drippers can make around 80kg of shot
in an hour. But
with this comes other issues that require
a method to remove non-perfect pellets and sieves to grade the shot by size and
lots of lead. As these pictures and videos show making lead shot is not
difficult, but making quality shot requires the use of the correct lead alloy. |
 |
Shot drying video (click on picture), showing shot exiting the dryer.
Removing non round shot video (click on picture) - could do with couple more plates but it works.
Shot grading video (click on picture), a couple of sieves shown working in the video.
But the "mini" grading line of sieves includes #9,#8,#7.5,#7,#6.5#,#6,#5.5 and #5 so is several few feet long as each sieve is about 12inch long and 3" in diameter. The commercial equivalent is much bigger in both length and diameter.
My past background in electrical and mechanical engineering has allowed the construction of this (and a few other) projects to pass the time!, many hours work in making all the part to enable making my own shot, some bits could do with a tidy up like the tape on the sieves buy hey it works and that's what matters.
Please note the shot we sell is commercially made best quality - long drop tower shot.
Back]